
WHAT’S NEW IN ACCUMARK V2025.1 APRIL 2025 Group Pieces in Pattern Design Create a group to easily
WHAT’S NEW IN ACCUMARK
V2025.1 APRIL 2025
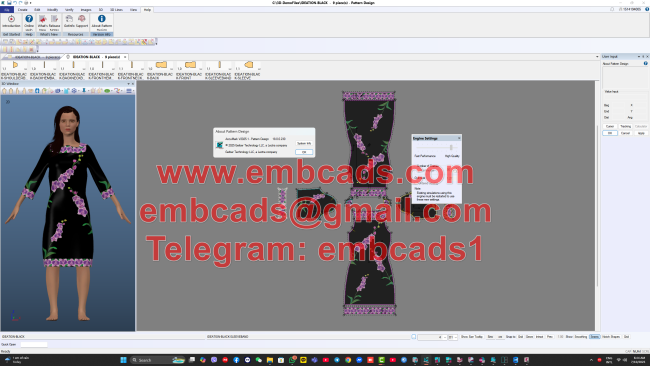
Group Pieces in Pattern Design
Create a group to easily and quickly perform Pattern Design actions on multiple pieces.
Grouping pieces in PDS allows a selection to be maintained on multiple pieces for actions that may require several steps. While using a marquis allows multiple pieces to be selected, it may be time-consuming to choose this selection type several times when performing complex pattern operations. Creating one or more groups of pieces in the work area is a powerful selection tool that will save time. The group will be maintained when saving a PDS work session file but not when saving the data, for example, models or pieces. The use of piece groups affects any functions that accept multiple piece selections as an input. For example, the Rotate Piece function in the Modify tab has a multiple-piece selection to specify which pieces to rotate. Select multiple pieces, create a group, rotate them, and perform other actions as needed. As the mouse is pointed at any piece in a piece group, all the other pieces in the group are highlighted as the current piece. The current piece information still shows the piece which is being pointed at. Clicking on any piece within a piece group will toggle the selection of all pieces in that group. The current piece box can also be used to limit the selection of pieces in a group to only those that are selected in the box. Click one or more pieces in the current piece box to isolate the piece. Using the current piece box to isolate a piece allows functions to be performed without the need to ungroup. Selecting pieces in the work area, whether to group or simply as part of a marquis selection, will now display the piece outline in the Selected color defined on the Color tab in the PDS Preferences.
See it in action!
Trim Mirrored Corner (Professional Edition Only)
A new corner type allows the excess to be trimmed from an existing mirrored corner.
A Trim Mirrored corner is to trim off the extra fabric on a mirrored corner, when the angle of the piece geometry and the corner would produce excessive bulk.
See it in action!
Pattern Wizard User Menus
Users can now create up to three additional groups of scripts for the Pattern Wizard. Each of these new user-defined columns can host up to 25 macro scripts, expanding the capacity of the Pattern Wizard. Users can now organize the provided and custom scripts into groups by editing the file that displays the Scripts group on the Pattern Design’s Wizard tab. The AccuMark Pattern Wizard Scripts and the menu file are stored in the Windows file location C:\ProgramData\Gerber Technology\Silhouette 2000\Scripts\Samples. By default, Pattern Design is installed with Scripts that are grouped as Mens, Womens, Childrens, and Industrial. Edit the “MenuSetup.txt” file to add up to 3 new columns: User1, User2 and User3. Under each of these new columns, user specified scripts will be displayed in the PDS menu.
See it in action!
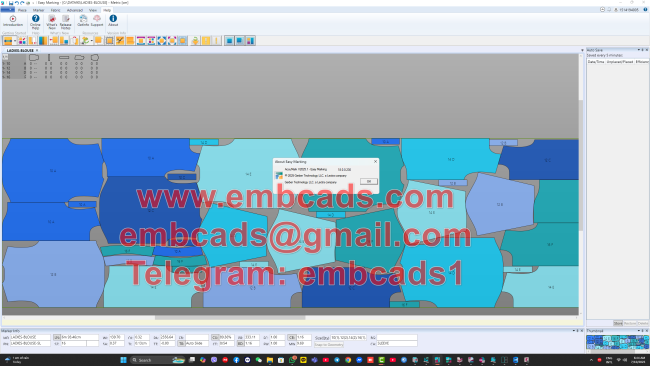
Image Replacement for Fabrics (Professional Edition Only)
A new image capability has been added to allow the replacement of Fabrics. Working with the model’s assigned fabric codes, the XML file will now support both fabric and trim image replacements to produce even more variety for digital prints. Each image type entry is added into the grid, with a new radio button to select the type, Trim or Fabric. Working with Replace Image requires that the model has a Fabric Image.
See it in action!
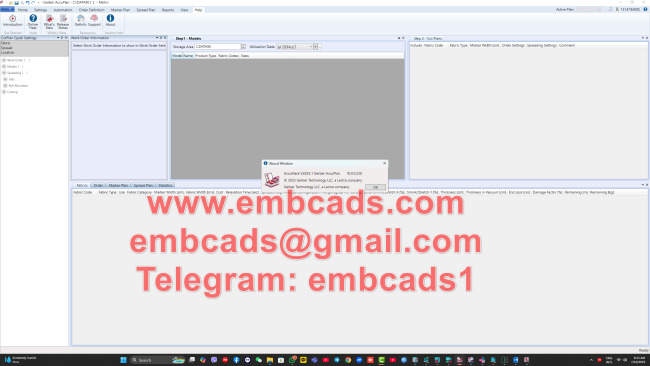
New View Feature in Data Conversion Utility
A new View capability has been added to the Data Conversion Utility (DCU) to display details related to the data being converted. Information and images can now be displayed directly within the DCU.
See it in action!
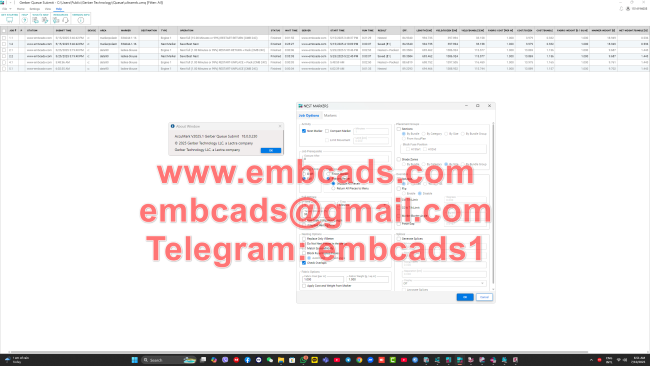
Cut Ticket in Batch Processing (Professional Edition Only)
Create Cut tickets in Batch Processing by entering ply and color in the new fields added to the Batch Parameter Table and Add Jobs dialog.
If a fabric is commonly used and spread to a particular ply height, create a Batch Parameter with default settings for the Cut Ticket. For markers that require various fabrics with differing ply heights, use the Add Job dialog to create a cut ticket at submission time. A cut ticket contains the information needed to process a single spread and cut from one marker. This file references the cut file name, including the color, number of plies, and the spreads required. A cut ticket provides an effective method of communication to ensure the cut file is spread with the correct number of plies in the required fabric. As the file is processed through production, the status is updated automatically. While Cut Tickets can be created in AccuMark, cut planning software, or during Cut Processing, creating a cut ticket with Batch Processing provides companies with even more automation opportunities. Now, orders can be imported, markers nested and plotted, cut files and cut tickets created, and then exported to the cutting room, all without user intervention.
See it in action!
Default Comment in AccuMark Zip File
A brief message can be included by default in each zip file being created on an AccuMark station. The message becomes a comment, which can be edited when the file is zipped. The Default Comment field is user-defined. These comments may include special instructions for the recipient of the zip file, the software version the file was used to create the file, and the contact information for the user who created the file if there are questions about the contents or if any other data may be needed from this user.
Using the Default Comment saves time, allowing users to write a comment that will be populated in the Zip file dialog automatically.
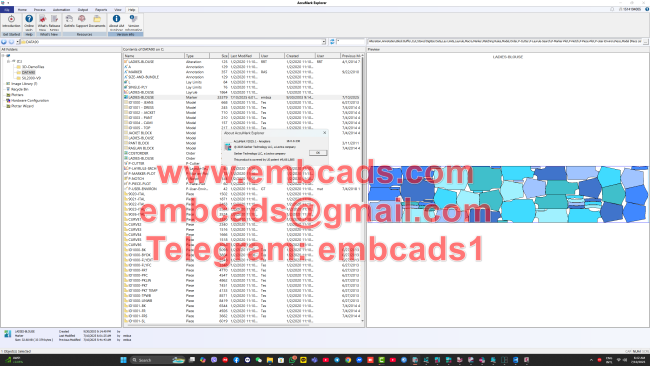
Find Model Option
AccuMark Explorer Find now allows for a Model’s Option to be defined as Search criteria to locate the corresponding Model(s) to display in the contents pane.
Using Find allows users to search one or more Storage Areas to locate which Models have the specified Model Option. Locating these Model Options allows the data to be edited directly in the results pane. For example, if a piece needs to be added or removed from a Model Option, then all the Models that contain that Option require modification. Now users can quickly locate and make these changes.
Nesting by Model
Place sections by Model when sending markers for cloud nesting.
In previous versions, nesting sections could be defined by size, bundle, category or bundle group. A new selection has been added to the dialog box to define nesting by model.
GetInfo
A new program has been added to gather AccuMark system information to diagnose support issues.
GetInfo provides more details to the support teams including the system environment, hardware, licensing, and applications. Launch GetInfo from the Help tab of the AccuMark programs including AccuMark Explorer, Pattern Design, and Easy Marking.
!!! Beware Of Scams And Fake Videos !!!
Please, Do NOT Ask Anything For Free !
If You are Interested Than Get In Contact With Us !
Website: https://www.embcads.com
E-Mail: embcads@gmail.com
E-Mail: embcads@yahoo.com
For Quick Messaging
Telegram: EMBCADS1
Skype /WeChat: EMBCADS
Like Our Facebook Page : EmbCads
Join Our Facebook Group: EmbCads
We Thank You For Visiting Our Site, Dear Guest !
COMMENTS